


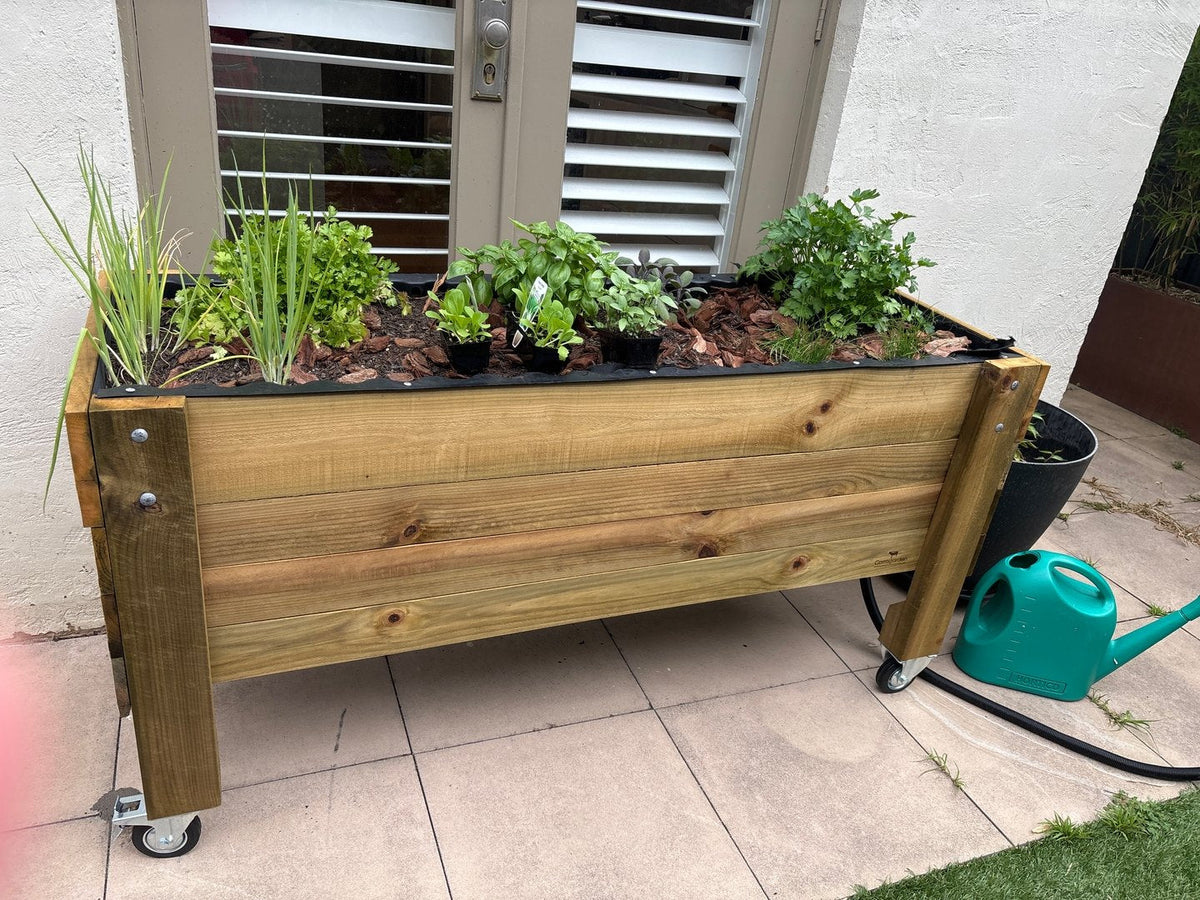
Everyone forgets. You get busy, it's dark by the time you get home, you go away for a weekend in January, and the bed pays for it. Hand watering also tends to be feast or famine: nothing for four days, then a drenching that runs straight out the bottom.
A tap timer fixes both problems, and it is the simplest of the three ways to make a bed water itself. If you have a garden tap, this is the one to start with. Your garden hose runs from the tap to the beds, so it doesn't matter how far away they are.
How does a tap timer actually water the bed?
Two pieces, and no electricity.
The timer screws onto your garden tap and your garden hose clicks onto the timer. It runs on batteries and does one job: open the valve at a set time, hold it open for a set number of minutes, close it again. You leave the tap turned on permanently and the timer decides when water actually flows.
The weeper hose is the part that sits in the bed. It's a soft micro hose full of tiny pores that seeps water slowly along its whole length rather than spraying it. Ours comes as a 2.85m loop, joined and ready to lay, so it sits on the mix and wets the growing area. Two pins per bed hold it where you put it.
That's the entire system. Mains pressure does all the work, which also means it never runs out. Of the three ways to automate a bed, this is the only one not drawing on a reservoir that eventually empties, so it's the one to use if you travel.
Why a weeper loop, and not sprinklers or drip spikes?
Because the job isn't to water the plants. It's to hydrate the potting mix and let the roots draw the moisture out of it, in their own time, at the depth they're working. Get the mix right and the plants look after themselves.
Think of the mix as a sponge. Your job is to keep the sponge damp. The roots do the drinking, and they take what they need when they need it. A damp sponge also takes up the next lot of water instantly and spreads it evenly through itself, while one that's been left to dry out goes hard and water-repellent, and most of what you tip on runs straight off the side. Potting mix behaves exactly the same way, which is why letting a bed dry right out costs you twice over: the plants go thirsty, and the mix loses its ability to take the next watering.
That one idea rules out the other two options.
Sprinklers water the leaves. A good share of it never reaches the mix at all: it evaporates on the way down or blows onto the path. What does land sits on the foliage, and wet leaves overnight are how powdery mildew, black spot and a long list of fungal problems get going. A humid Australian summer needs no encouragement.
Drip spikes water spots. Each emitter wets a cone of mix beneath it and leaves the ground between them dry, so you end up with damp patches and dry pockets rather than an evenly hydrated sponge. They're also tied to your planting layout: move the lettuce and the water is in the wrong place. And a dripper's orifice is tiny: one grain of sediment blocks it, that plant gets nothing, and you usually don't notice until it's wilting.
A weeper loop wets the whole bed. It seeps along its entire length through hundreds of pores, bringing the mix up to an even moisture right across the growing area. The whole sponge, not spots in it. One blocked pore changes nothing. And it doesn't care what you plant or where: sow, transplant and rotate as you like, and the mix underneath stays evenly damp. Nothing needs re-plumbing when the season changes.
It's also gentle. A slow seep has time to soak in and wet the mix through, where a fast blast tends to channel down the sides and run out the bottom, which looks like watering but hasn't done much. On a sponge that's gone dry and hard, that is exactly what happens.
Run it under the mulch
This is where a weeper loop really earns its keep, and it's something neither of the alternatives can do.
Lay the loop on the surface of the mix and mulch straight over the top of it. Four things happen:
- The hose lasts far longer. Sunlight is what perishes micro hose. Under mulch it's shaded, cool and out of the UV.
- Almost nothing evaporates. The water goes straight into damp mix underneath a blanket, instead of onto a hot open surface on a 35-degree afternoon.
- The mulch stays damp too. Damp mulch keeps breaking down into the mix and keeps the soil life working right up at the surface, which is where it does the most good. Dry mulch just sits there.
- You can't see it. No black hose across your veggie patch.
One thing to remember: once it's buried you can't see where it runs. Note the layout, or lift the mulch at a corner and follow it, before you go in hard with a trowel or a garden fork.
What's in the kit?
Our Drip Watering System with Timer starts at $99 for a single bed and includes:
- A Holman 2-dial tap timer with a 9V battery: one dial for how long, one for how often.
- A hose click connector that joins your garden hose to the 2m extension hose.
- A 2m extension hose (4mm) and a 2.85m micro weeper hose loop per bed, joined and ready to lay.
- 2 pins per bed, so the loop stays where you want it.
You supply the garden hose from the tap. Setup is a DIY click-together job: no tools, no cutting, nothing permanent. The QR code on the pack brings you straight back to this guide.

How often should I set it to run?
Little and often beats one big soak, and it isn't close. You're keeping a sponge damp, not filling a bucket.
A mix that stays evenly damp keeps its ability to absorb water, keeps alive the soil life that turns your fertiliser into something plants can use, and gets a fresh exchange of air through it every time water moves down and drains away. A bed that swings between bone dry and flooded gets none of that.
As a starting point: a short run daily, or every second day, is a better shape than a long run twice a week. Then adjust to what you see. Push a finger into the mix a few centimetres down before the next cycle. Still damp? Wind it back. Dry? Wind it up.
Things that change the answer: tub depth (a 23 cm tub dries out much faster than a 41 cm one), how exposed the bed is, what you're growing, and the season. Expect to move the dials a few times a year rather than set them once.
Keep an eye on the run-off too. Water should soak in with only a little coming out the bottom. A lot running straight through means the cycle is too long.
What if I have more than one bed?
You only ever need one timer. A 2, 3 or 4 bed kit adds, for each extra bed:
- Another 2.85m weeper hose loop and 2m extension hose, with 2 pins, plus tees to split the line to each bed.
- An in-line tap on every bed, the first one included, so you can dial each one up or down on its own. Without them the bed nearest the tap gets the most water. They're also handy when one bed is in full sun and another is half shaded, or the seedling bed needs less than the tomatoes.
Two beds is $124, three is $149, four is $174. The saving comes from not buying a timer you don't need.
Beds in a row? With 3 or 4 beds, bring the hose in at the middle so the line splits both ways and no bed is left at the far end of a long run.
If your beds are a long way apart, get in touch before you order and we'll work it out with you.
What if my water pressure is high?
Micro irrigation is designed for low pressure, and some areas deliver a lot more than it wants. The symptoms are a weeper hose that jumps around, blows off its fittings, or seeps far harder at the tap end than the far end.
The fix is a pressure reducer between the tap and the timer. If you already know your mains pressure runs high, get in touch before you order and we'll sort out what you need, rather than have you find out the hard way.
Going away for a few weeks?
This is the setup for it, and the reason is simple: it's the only automatic method plumbed to a supply that doesn't run out. A wicking bed's reservoir and a solar loop's drum both empty eventually.
Two things before you go. Put a fresh 9V battery in the timer: a flat battery is the one failure mode here and it goes quietly. And run a full cycle while you're standing there watching, so you know water is actually reaching the far end of the loop.
What if the beds are a long way from the tap?
Distance isn't a problem. The timer sits on the tap and your garden hose runs from there to the beds, so use a hose long enough to reach them. The kit's click connector goes on the far end of the hose, right beside the beds.
The only time a tap timer is the wrong tool is when there's no garden tap at all: a balcony, a rental with no outside tap, or a block with no water connected. There's no pump in a tap timer, so it can only pass along mains pressure. For those spots, a solar-powered loop that recycles the bed's own run-off needs no tap and no power point. Or convert the bed to a wicking system so it carries its own reservoir.
Do I still need to water by hand?
Rarely, but it's worth knowing when.
Newly sown seed and fresh seedlings often want a light hand-water on top for the first week or two, until their roots get down to where the weeper hose is wetting.
After a heatwave, check the mix rather than trusting the timer. Batteries die quietly, and the first sign is usually a wilted bed.
Once a season, lift the mulch and look at the hose. Fine sediment and minerals slowly block the pores, and a loop that's seeping unevenly is asking to be flushed or replaced.
Pair it with drainage capture
Watering automatically means water leaving the bottom of the bed on a schedule too, and if your bed sits on a deck, patio or balcony that ends up somewhere you'd rather it didn't.
The Drainage Capture add-on ($49) puts a channel under the tub that collects the run-off and pipes it out through a 22 mm hose to wherever you want it: a watering can, the lawn, a nearby garden bed, or off the edge of a balcony. It keeps surfaces clean and stops the permanent damp patch underneath.
Three ways to make a bed water itself
- A tap timer: this article. Simplest and most reliable if you have a garden tap, and the only one that never runs out. The Drip Watering System with Timer, from $99.
- A solar recycling loop: no tap, no power point, and it puts the bed's own run-off back to work. How the off-grid loop works.
- A wicking bed: a reservoir in the base feeding moisture upward, topped up every week or two. Best if you want nothing that can break, and it loses the least to evaporation. How to convert a Corrogarden into a wicking bed.
Weighing them up? Start with three ways to make a raised garden bed water itself.